
How To Replace Your Stihl FSA 60 R Trimmer Line: Easy Guide
Are you tired of wrestling with your overgrown lawn, yearning for a pristine, manicured finish? The secret to achieving that perfectly edged yard, and a trim thats both efficient and effortless, might just lie in mastering the art of the string trimmer.
The quest for a perfectly trimmed lawn can often feel like a never-ending battle. But amidst the myriad of tools designed to tame the green wilderness, the string trimmer stands as a stalwart ally. Whether you're battling unruly edges, tackling overgrown weeds, or simply seeking to refine your lawn's aesthetic, knowing how to effectively utilize and maintain your string trimmer is paramount. This article delves into the specifics of the STIHL FSA 60 R, a popular choice for homeowners and professionals alike, providing you with the essential knowledge to keep your trimmer running smoothly and your lawn looking its best.
The STIHL FSA 60 R, a cordless grass trimmer within the STIHL AK system, is designed for both power and convenience. Its lightweight nature, combined with its battery-powered operation, makes it an attractive option for various users. This trimmer isn't just about the machine itself; it's about understanding how to properly care for it, particularly when it comes to the crucial element of the cutting line. Let's explore the world of string trimmers, focusing on how to replace the line, choose the right type for your needs, and keep your lawn looking its best.
Before we get into the specifics, let's clarify a common point of confusion. While "trimmer wire" is sometimes used, the correct term is "trimmer line" or simply "string." This distinction may seem trivial, but it underscores the importance of using the proper terminology when seeking advice or replacement parts. Furthermore, remember that different mowing heads, lines, and spools are designed for specific applications. Familiarizing yourself with these options is key to maximizing your trimmer's performance.
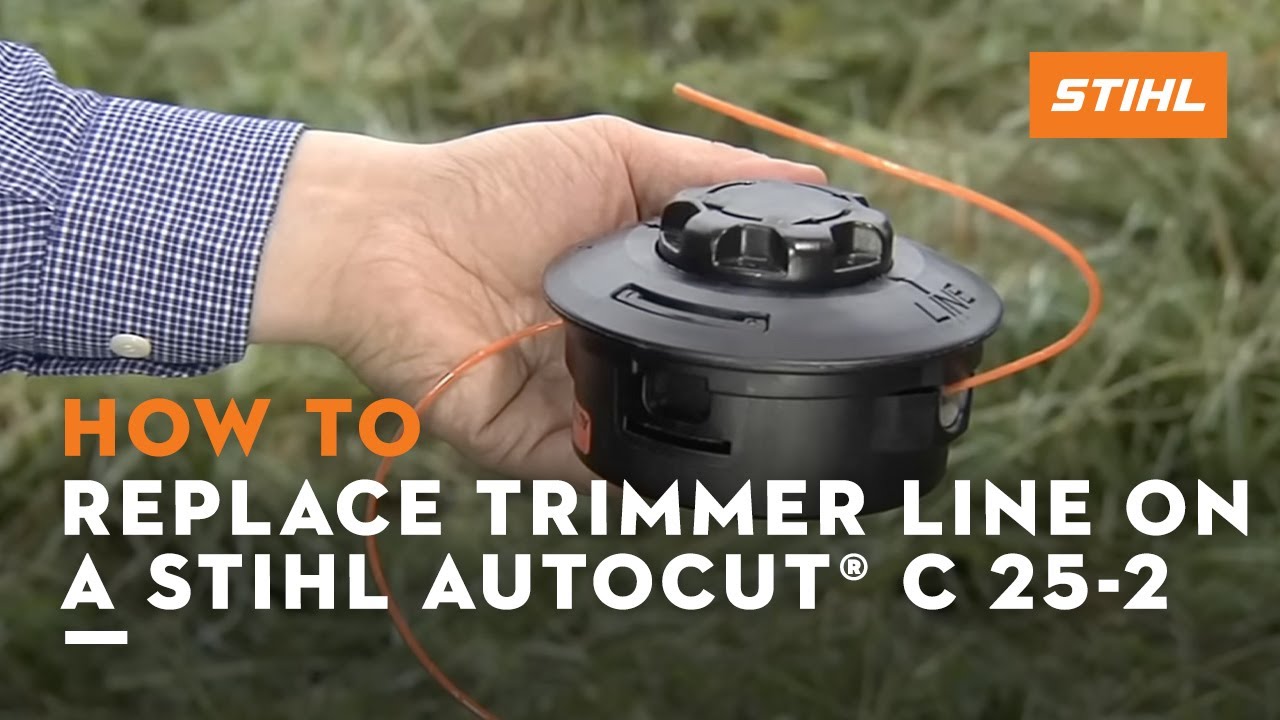
Let's embark on the first step: replacing the trimmer line. The process is typically straightforward, but the exact method may vary slightly depending on the trimmer head design. In many cases, you'll need to open the trimmer head to access the spool. However, some models, such as those with the "comfort function," simplify the process by allowing you to insert the line directly. Following these simple steps helps you get the job done quickly and correctly.
To begin, ensure your trimmer is switched off and the battery is removed for safety. Next, consult your trimmer's manual for precise instructions, as the procedure may vary. If your trimmer head needs to be opened, identify the release mechanisms. Once opened, remove the old line and clean any debris from the spool and head. Now, it's time to add the new line. Some trimmers use pre-cut lengths, while others require you to wind the line onto the spool. If you are winding the line, be sure to follow the manufacturer's instructions regarding the correct winding direction and the amount of line to use. Overfilling can prevent the head from operating properly, while underfilling will reduce your cutting time. Finally, reassemble the head, ensuring all parts are securely in place. And there you have it, with your trimmer line changed, you are ready to get back to trimming!
- Buzz From Home Alone
- Is Bronny James Still Growing
- Best Remoteiot Behind Router For Raspberry Pi
- Gay Tom Brady
- Ophiuchus And Pisces Compatibility
One crucial aspect of string trimmer maintenance is selecting the right type of line. The best line for you depends on the type of grass you're cutting, the terrain, and your desired results. For example, if you're tackling tougher weeds or thicker grass, a more robust line is needed, such as Stihl premium round trimmer line or the Stihl 0000 930 4300 CF3 Pro Trimmer line. In contrast, for regular trimming of finer grasses, a lighter line might suffice. The cutting circle diameter, typically around 350 mm for models like the FSA 60 R, also influences cutting efficiency. This diameter is crucial for determining the area you can cover with each pass of the trimmer.
It's important to consider the characteristics of the area youre working in and the sensitivity of the surroundings. The FSA 60 R is especially well-suited for noise-sensitive environments, making it a practical option for residential areas or locations with specific noise restrictions. Its ergonomic operating handle, loop handle, and sturdy aluminum shaft add to user comfort, allowing for longer periods of use without excessive fatigue. The spacer bracket is an excellent feature for mowing around obstacles like trees and shrubs, helping you to maintain your garden or lawn's design while minimizing the risk of accidental damage.
Before winding or using your mowing line, soaking it in water for approximately 24 hours can significantly improve its performance. This helps the line remain flexible and reduces the chances of breakage, resulting in a smoother and more efficient trimming experience. Taking the time to pre-soak your line can noticeably extend its lifespan and help to ensure a more consistent trim.
Beyond the basic maintenance, there are a few advanced techniques that can enhance your trimming results. For instance, consider the direction you're trimming in. Moving from the left to the right can prevent clippings from falling onto the area youve already trimmed, improving the overall appearance of the lawn. Holding the trimmer at the correct angle is also essential for a clean cut. Youre aiming for a slight angle to avoid scalping the grass. Keeping the trimmer head parallel to the ground can also help ensure an even finish.
When choosing a trimmer line, it's vital to consider the material. Nylon lines are the most common, but other options exist. The best line for you depends on the type of grass you're cutting and your desired results. For instance, if you're tackling tougher weeds or thicker grass, a more robust line is needed. In contrast, for regular trimming of finer grasses, a lighter line might suffice.
The FSA 60 R is a great choice for homeowners because its design emphasizes both power and ease of use. The features built into the FSA 60 R, such as the ergonomic operating handle and the spacer bracket, are designed to give the user comfort and the ability to navigate the machine smoothly around the obstacles often present in a yard. Its compact design makes it easy to maneuver in tight spaces, like around trees and along fences, while the battery operation ensures that there are no cords to deal with.
Finally, if you're unsure about how to perform any maintenance task, consult your trimmer's manual or seek professional assistance. This will help you prolong the life of your trimmer and ensure it operates safely and effectively. As you become more familiar with your trimmer, you will gain a deeper appreciation for the tool.
Article Recommendations
- About Alex Oloughlin
- Raspberry Pi P2p
- Is Amelia Heinle Still Married To Thad Luckinbill
- Luther Vandross Wife
- Roger Federer Parents


Detail Author:
- Name : Sadie Bechtelar DVM
- Username : murray.giovanny
- Email : granville.grant@turcotte.com
- Birthdate : 1991-09-07
- Address : 621 Abe Well Port Jerelland, GA 77992-8606
- Phone : 1-754-406-3305
- Company : Block LLC
- Job : Geographer
- Bio : Aperiam beatae soluta iusto maxime voluptas vel. Et atque consequatur cupiditate blanditiis amet iusto. Eaque beatae dolorum eaque et doloribus dolorum. Cupiditate illum sint vel consequatur aliquid.
Socials
instagram:
- url : https://instagram.com/earnestine_official
- username : earnestine_official
- bio : Debitis dolor autem similique nobis eos fugit. Ut assumenda nemo quas minus fugiat.
- followers : 367
- following : 2162
facebook:
- url : https://facebook.com/o'kone
- username : o'kone
- bio : Id qui aut ut. Et consectetur et ut.
- followers : 589
- following : 2782
tiktok:
- url : https://tiktok.com/@earnestineo'kon
- username : earnestineo'kon
- bio : Alias molestias et eum placeat omnis rerum perferendis.
- followers : 514
- following : 2815
