
Mastering SSH Tunneling On Raspberry Pi: A Comprehensive Guide
SSH tunneling on Raspberry Pi is a powerful technique that allows you to securely access your device and transfer data over the internet. Whether you're a tech enthusiast, a developer, or someone who needs remote access to their Raspberry Pi, understanding SSH tunneling can significantly enhance your workflow. With the increasing use of Raspberry Pi for various projects, mastering SSH tunneling ensures your data remains secure while enabling seamless remote operations. This article will guide you through the essentials of SSH tunneling, its applications, and step-by-step instructions for setting it up on your Raspberry Pi.
SSH tunneling, also known as SSH port forwarding, is a method of creating a secure connection between two devices over an unsecured network. It encrypts the data being transmitted, protecting it from unauthorized access. Raspberry Pi, with its versatility and affordability, has become a popular choice for developers and hobbyists alike. By leveraging SSH tunneling, you can remotely manage your Pi, access its services, or even use it as a secure proxy for browsing.
In this guide, we will explore the concept of SSH tunneling, its benefits, and how you can implement it on your Raspberry Pi. Whether you're setting up a home server, managing IoT devices, or simply experimenting with your Pi, SSH tunneling will prove to be an invaluable tool. By the end of this article, you'll have a clear understanding of how to configure and use SSH tunneling effectively, ensuring both security and convenience in your projects.
- Fakultas Farmasi Universitas Ypib Cirebon Kampus 1
- Lure Hsu Age 2025
- Sone385
- Furuta
- Luther Vandross Wife
Table of Contents
- What is SSH Tunneling?
- Benefits of SSH Tunneling on Raspberry Pi
- Types of SSH Tunneling
- Setting Up SSH on Raspberry Pi
- Configuring SSH Tunneling on Raspberry Pi
- Advanced SSH Tunneling Techniques
- Common Issues and Troubleshooting
- Security Best Practices for SSH Tunneling
- Use Cases for SSH Tunneling on Raspberry Pi
- Conclusion
What is SSH Tunneling?
SSH tunneling, or SSH port forwarding, is a method used to create a secure connection between two devices over an unsecured network. It works by encrypting the data being transmitted, ensuring that it cannot be intercepted or tampered with by malicious actors. This technique is particularly useful for accessing remote systems securely, bypassing firewalls, or accessing services that are otherwise restricted.
The basic principle of SSH tunneling involves using the SSH protocol to establish a secure "tunnel" through which data can be transmitted. This tunnel acts as a protective layer, encrypting all data that passes through it. By leveraging SSH tunneling, you can securely access services running on your Raspberry Pi, such as a web server, database, or file-sharing system, without exposing them directly to the internet.
SSH tunneling is widely used in scenarios where security is paramount, such as remote administration, secure file transfers, and accessing restricted networks. Its ability to encrypt data and bypass network restrictions makes it an indispensable tool for developers, system administrators, and tech enthusiasts alike.
- Remote Iot P2p Download
- Felix Drug Lord
- Chad Michael Murray Movies And Shows
- Priyanka Chopras Philanthropic Work Details Latest
- Scott Jennings Cnn Pay
Benefits of SSH Tunneling on Raspberry Pi
Using SSH tunneling on Raspberry Pi offers numerous benefits, making it an essential skill for anyone working with this versatile device. Below are some of the key advantages:
- Enhanced Security: SSH tunneling encrypts all data transmitted between devices, ensuring that sensitive information remains secure. This is particularly important when accessing your Raspberry Pi remotely over public networks.
- Bypassing Firewalls: SSH tunneling allows you to bypass restrictive firewalls and access services that are otherwise blocked. This is especially useful for accessing internal networks or services behind NAT.
- Remote Access: With SSH tunneling, you can securely access your Raspberry Pi from anywhere in the world. This is ideal for managing IoT devices, home servers, or remote development environments.
- Cost-Effective Solution: Raspberry Pi is an affordable device, and SSH tunneling eliminates the need for expensive hardware or third-party services to achieve secure remote access.
By leveraging these benefits, you can maximize the potential of your Raspberry Pi while ensuring the security and reliability of your projects.
Types of SSH Tunneling
There are three main types of SSH tunneling, each serving a specific purpose. Understanding these types will help you choose the right approach for your needs:
Local Port Forwarding
Local port forwarding allows you to forward traffic from a port on your local machine to a port on a remote server via the Raspberry Pi. This is useful for accessing services running on the Raspberry Pi from your local machine. For example, you can use local port forwarding to securely access a web application hosted on your Pi.
Remote Port Forwarding
Remote port forwarding works in the opposite direction, allowing you to forward traffic from a port on the Raspberry Pi to a port on your local machine. This is particularly useful for exposing services running on your local machine to the internet via the Raspberry Pi.
Dynamic Port Forwarding
Dynamic port forwarding creates a SOCKS proxy that can be used to route traffic from multiple applications through the Raspberry Pi. This is ideal for scenarios where you need to access multiple services securely or bypass network restrictions.
Each type of SSH tunneling has its own use cases and benefits. By understanding these options, you can configure SSH tunneling to meet the specific requirements of your project.
Setting Up SSH on Raspberry Pi
Before you can start using SSH tunneling on your Raspberry Pi, you need to ensure that SSH is enabled and properly configured. Follow these steps to set up SSH:
- Enable SSH: By default, SSH is disabled on Raspberry Pi. To enable it, open the Raspberry Pi Configuration tool, navigate to the "Interfaces" tab, and enable SSH. Alternatively, you can create an empty file named "ssh" in the boot partition of your SD card.
- Connect to Your Raspberry Pi: Use an SSH client like PuTTY (Windows) or the terminal (Linux/Mac) to connect to your Raspberry Pi. The default username is "pi," and the password is "raspberry."
- Update Your System: Once connected, update your Raspberry Pi's software to ensure you have the latest security patches and features. Run the following commands:
sudo apt update && sudo apt upgrade -y
With SSH enabled and your system updated, you're ready to configure SSH tunneling on your Raspberry Pi.
Configuring SSH Tunneling on Raspberry Pi
Configuring SSH tunneling on Raspberry Pi involves setting up the appropriate type of tunnel based on your requirements. Below are detailed instructions for configuring local and remote port forwarding:
Local Port Forwarding
To set up local port forwarding, use the following command:
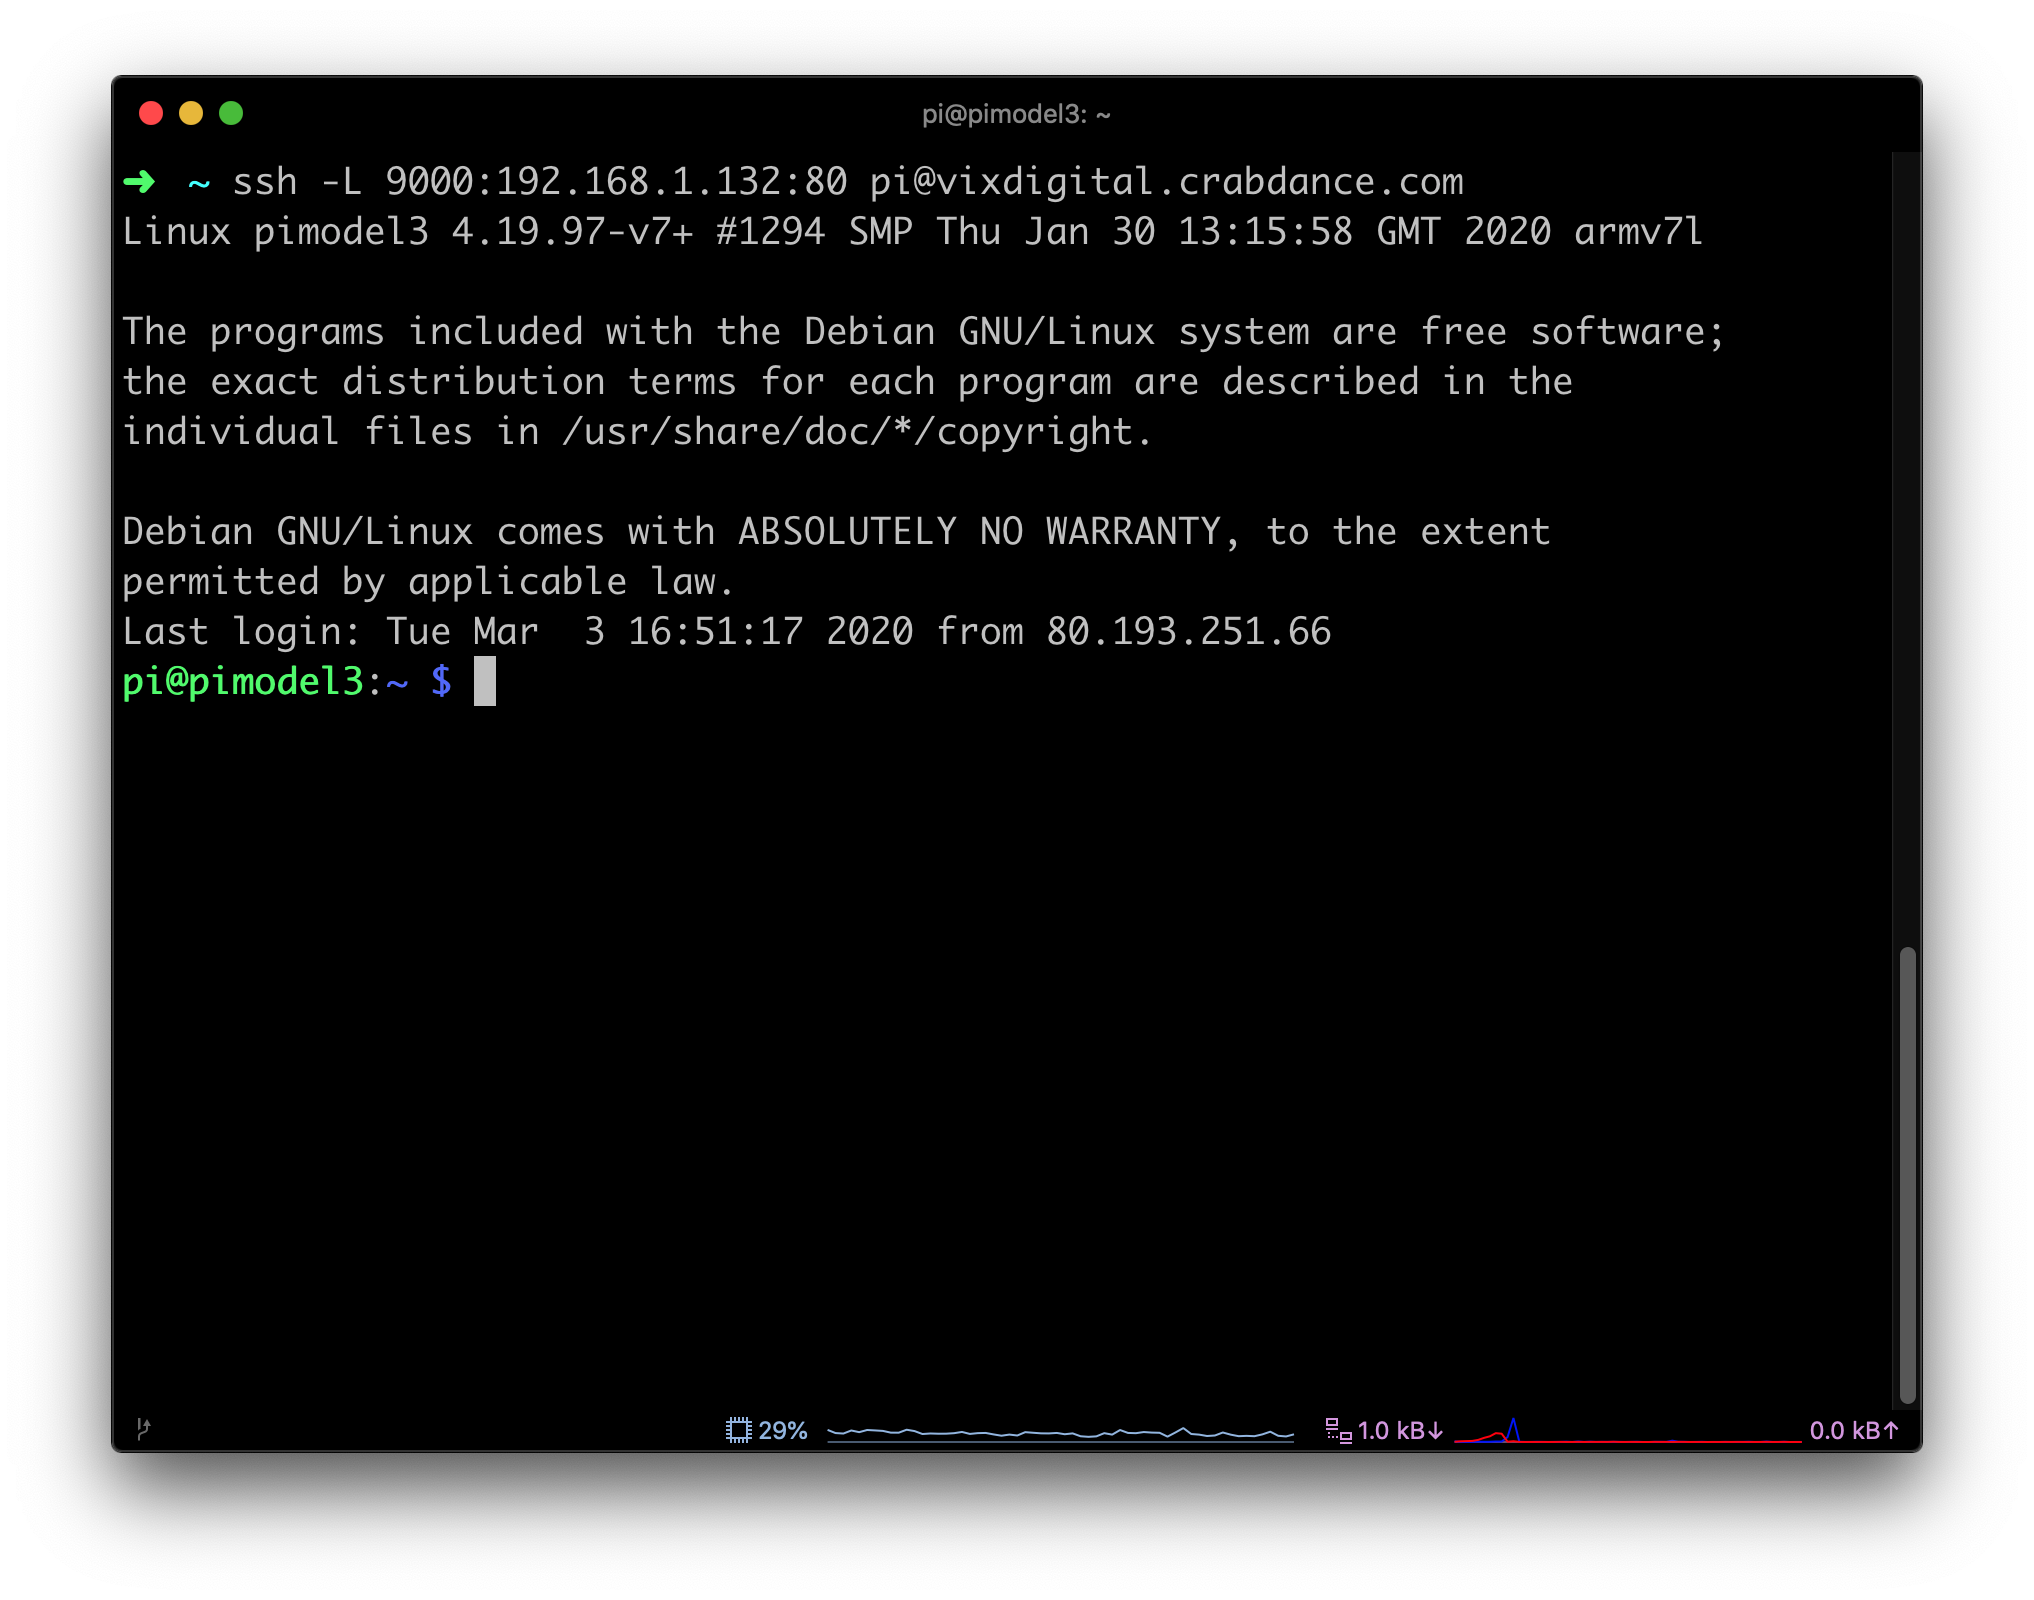
ssh -L [local_port]:[remote_host]:[remote_port] [username]@[raspberry_pi_ip]For example, to forward traffic from port 8080 on your local machine to port 80 on your Raspberry Pi:
ssh -L 8080:localhost:80 pi@192.168.1.10Remote Port Forwarding
To set up remote port forwarding, use the following command:
ssh -R [remote_port]:[local_host]:[local_port] [username]@[raspberry_pi_ip]For example, to forward traffic from port 80 on your Raspberry Pi to port 8080 on your local machine:
ssh -R 80:localhost:8080 pi@192.168.1.10These commands establish the SSH tunnel, allowing you to securely access services running on your Raspberry Pi or local machine.
Advanced SSH Tunneling Techniques
Once you've mastered the basics of SSH tunneling, you can explore advanced techniques to enhance its functionality. Below are some advanced methods and tools you can use:
- Using SSH Keys: Instead of using passwords, configure SSH keys for authentication. This improves security and eliminates the need to enter a password each time you connect.
- Configuring Persistent Tunnels: Use tools like autossh to create persistent SSH tunnels that automatically reconnect if the connection drops.
- Setting Up a Reverse Proxy: Combine SSH tunneling with a reverse proxy like Nginx to securely expose multiple services running on your Raspberry Pi.
These techniques allow you to take full advantage of SSH tunneling, making it a versatile tool for your projects.
Common Issues and Troubleshooting
While SSH tunneling is a reliable method, you may encounter some common issues. Below are troubleshooting tips for resolving these problems:
- Connection Refused: Ensure that SSH is enabled on your Raspberry Pi and that the correct IP address and port are being used.
- Firewall Restrictions: Check your firewall settings to ensure that the required ports are open for SSH traffic.
- Authentication Errors: Verify that your username and password are correct, or configure SSH keys for authentication.
By addressing these issues, you can ensure a smooth and secure SSH tunneling experience.
Security Best Practices for SSH Tunneling
To ensure the security of your SSH tunneling setup, follow these best practices:
- Use Strong Passwords: Avoid using default passwords and create strong, unique passwords for your Raspberry Pi.
- Disable Root Login: Prevent unauthorized access by disabling root login over SSH.
- Limit Access: Use IP whitelisting or SSH keys to restrict access to your Raspberry Pi.
Implementing these practices will help protect your Raspberry Pi and the data transmitted through your SSH tunnels.
Use Cases for SSH Tunneling on Raspberry Pi
SSH tunneling on Raspberry Pi has a wide range of applications, including:
- Remote Development: Securely access your development environment on the Raspberry Pi from anywhere.
- IoT Management: Manage and monitor IoT devices connected to your Raspberry Pi remotely.
- Home Automation: Control smart home devices and services securely via SSH tunneling.
These use cases demonstrate the versatility and importance of SSH tunneling in various projects.
Conclusion
SSH tunneling on Raspberry Pi is a powerful tool that enhances security, enables remote access, and provides flexibility for a wide range of projects. By understanding the basics of SSH tunneling, configuring it correctly, and following security best practices, you can unlock the full potential of your Raspberry Pi. Whether you're managing IoT devices, setting up a home server, or experimenting with new ideas, SSH tunneling will prove to be an invaluable asset.
We encourage you to try out the techniques discussed in this article and share your experiences in the comments below. If you found this guide helpful, feel free to share it with others who might benefit from it. For more articles like this, explore our website and stay updated with the latest tips and tutorials.
Article Recommendations
- Katy Perry 2025 Age
- The Flintstones Movie Cast
- %D1%82%D1%80%D0%B5%D0%BD%D1%82 %D1%81%D1%83%D0%B8%D0%BD%D0%B8
- Matt Prokop Demi Lovato
- Chad Michael Murray Movies And Shows

Detail Author:
- Name : Yasmine Haley
- Username : oherzog
- Email : henderson.schmeler@tromp.net
- Birthdate : 1984-03-01
- Address : 8222 Aimee Highway Dibbertside, MD 84944-7616
- Phone : +1 (435) 469-9040
- Company : Witting-Terry
- Job : Computer Repairer
- Bio : Et voluptate est rem sunt. Et dolor accusamus quis sint nihil quo accusantium. Deserunt cumque nobis omnis doloribus et. Iure culpa ut et et. Deserunt harum asperiores ut quos nisi enim molestiae.
Socials
instagram:
- url : https://instagram.com/astroman
- username : astroman
- bio : Totam mollitia sed delectus quis. Voluptatum quasi nisi nostrum est maiores rem.
- followers : 4165
- following : 2537
twitter:
- url : https://twitter.com/stroman2011
- username : stroman2011
- bio : Fugiat expedita ad doloribus odio eum. Omnis autem a et voluptas.
- followers : 4627
- following : 2911
facebook:
- url : https://facebook.com/stroman2024
- username : stroman2024
- bio : Qui perferendis doloremque aut et est delectus in.
- followers : 4324
- following : 1374
linkedin:
- url : https://linkedin.com/in/aliyastroman
- username : aliyastroman
- bio : Atque aliquid molestiae qui voluptas laudantium.
- followers : 1766
- following : 83
